


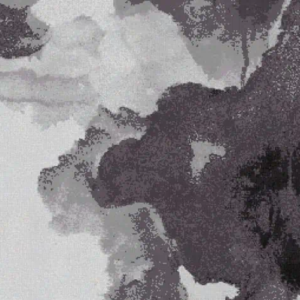
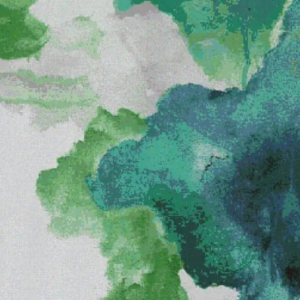
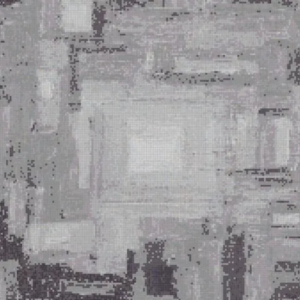
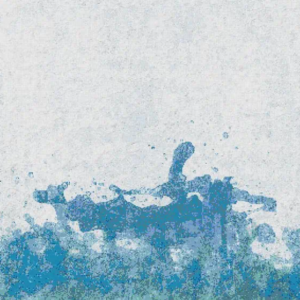
Mosaic Wall Art


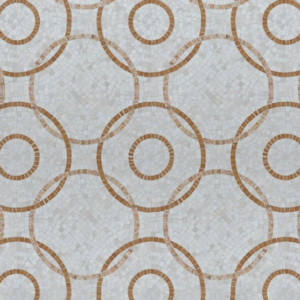
Mosaic Wall Art

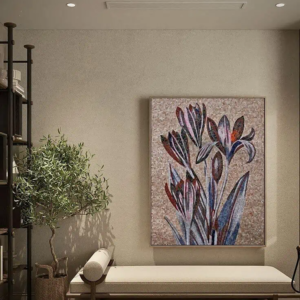
Mosaic Wall Art

Mosaic Wall Art

Mosaic Wall Art

Mosaic Wall Art
Mosaic Wall Art

Mosaic Wall Art

Mosaic Wall Art
Mosaic Wall Art

Mosaic Wall Art
Mosaic Wall Art
How To Create Outdoor Mosaic Wall Art?
Outdoor mosaic wall art may be a fun way to add a typical touch to your backyard or al fresco living area. If you never tried it before, don be nervy its actually fairly simple. With the correct materials and some skill, you be able to produce dramatic works of art to platform in your outdoor situation.
Prepare and gather your materials
The first step in produce outdoor mosaic wall art is gather the essential materials. You need mosaic tiles, grout, a tile saw or wet saw, a trowel, a mop, and a grout addition pot. If you dont know where to find these materials, look in your local home advance store or online.
Choose Your Design
After you are gather your food, its time to choose a design for your outdoor mosaic wall art. You can make a easy design, such as an knit circular pattern, or a more smart one, like a scene watercolor. If you need insight, there are several free mosaic patterns available online.
Measure and cut the tiles
Once you are sure on a design, its time to measure and cut the tiles. with a ruler and a pencil, determine the dimensions of each tile essential to complete your design. Next, use a tile saw or wet saw to gently cut the tiles to the proper sizes.
Lay out the design
Once you are cut all of the tiles, it’s time to arrange them to form your design. Arrange the tiles on a level surface so that they make the pattern you choose. Make sure the tiles are close together and have no gaps between them.
Glue the tiles
Once you are laid out the tiles, glue them together. With a trowel, apply glue to the back of each tile and press it down. Make sure each tile is safe secure and there are no gaps between them. Let the tiles dry for at least 24 hours before long-term.
Grout the tiles
Once the tiles have dry, grout them. Begin by addition the grout per the manufacturer directions. Use a trowel to relate the grout to the tiles, creation sure to swathe all of the break between them. After the grout has dried up, use a wet wipe to take away any glut. Seal the tiles.
To finish, it is time to seal the tiles. With a sealant deliberate in particular for outdoor use, affect a thin layer to the tiles. This will help protect them from the elements and make them last longer. Allow the sealant to fully dry before exhibit your outdoor mosaic wall art.
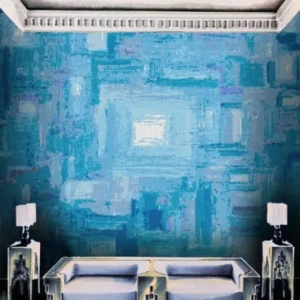
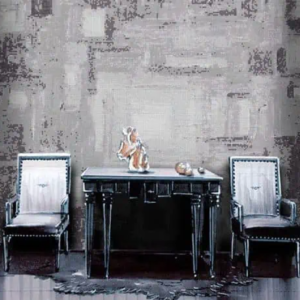
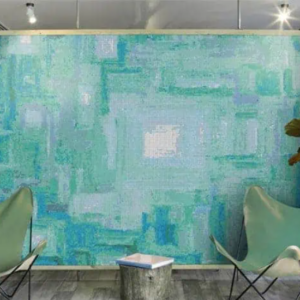
Mosaic Mural Process
Mosaic murals are larger works of art that are as a rule display outside, such as on edifice facades or as part of a wider site. The procedure of construct a mosaic mural is identical to that of edifice outdoor mosaic wall art, with a few exceptions.
First, choose a location for the mural. This will help you determine the size and shape of the mural, as well as the materials requisite to make it. Once you are decided on a spot, you need to measure the area and draw the mural.
Next, select the tiles and other elements requisite to build the mural. Mosaic tiles, grout, a tile saw or wet saw, a trowel, and a sponge are essential for this project, just as they are for outdoor wall art. You also need a bit to transfer your design on the wall, such as a projector or transfer paper.
SIZE and Colors
Once you are gathered the gears, it’s time to begin assemble the mural. You want to cut the strips to the exact sizes, display them to form the design, bond them, and grout them. At last, you need to shut the tiles to keep them from the outside.
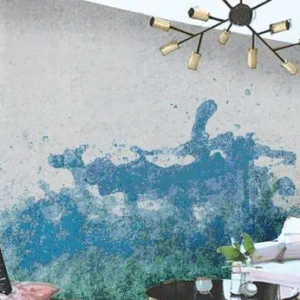
What is a watertight mosaic mural?
Water proofing a mosaic mural is an vital stage in the mosaic mural process. Waterproofing protect the mural as of damp and other basics that could harm the strips or stain the grout over time.
Waterproofing can be done any before or after the frieze is set up, depend on the type of sealant use. When waterproofing a mosaic mural, its vital to want a sealant that is in picky deliberate for outside use and can resist the elements. In addition, many coats of sealant may need to be useful for most waterproofing.
Its also important to clean the mural before apply the sealant. Once the mural is dry, the sealant can be useful in multiple thin coats. Allow each coat of sealant to dry completely before apply the next one.
Close Up
At last, sometimes inspect the mosaic mural to confirm that the sealant is still intact and only if adequate security. The following actions will ensure that your outdoor mosaic artwork lasts for many being.
Waterproofing can be done either before or after the mural is install, depende on the type of sealant used. When waterproofing a mosaic mural, its important to choose a sealant that is in particular deliberate for outdoor use and can withstand the elements. in addition, multiple coats of sealant may need to be functional for maximum waterproofing.
Its also important to clean the mural before apply the sealant. To accomplish this, use a damp sponge or towel and some mild detergent.
Allow each coat of sealant to dry from top to bottom before applying the next one.
To finish, the mosaic mural should be inspect on juncture to ensure that the sealant ruins intact and provide suitable shield. Follow these events to ensure that your outside mosaic mural lasts for many years.